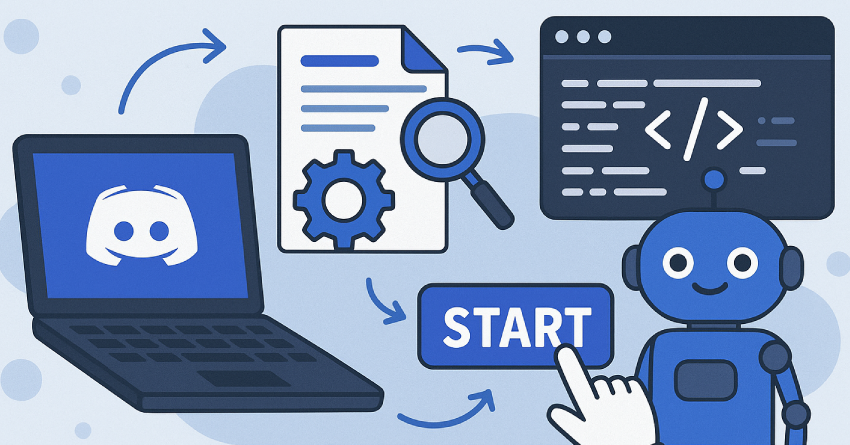
Discord bots have become essential tools for automating tasks, managing communities, and adding interactive elements to servers. If you’ve ever wanted to create your own bot but didn’t know where to begin, this guide will walk you through the entire process — from setting up a bot on Discord to coding it with Node.js.
1. What is a Discord Bot?
A Discord bot is a software application that runs on Discord and performs automated functions. Bots can send messages, moderate content, play music, interact with APIs, and much more. They are especially useful for managing large communities or adding dynamic content to a server.
2. Prerequisites
Before you begin, make sure you have the following:
- A Discord account and server
- Node.js installed on your computer
- A code editor like Visual Studio Code
- Basic understanding of JavaScript
3. Creating the Bot Application
To create a Discord bot, the first step is to register it on the Discord Developer Portal:
- Go to Discord Developer Portal.
- Click “New Application,” give it a name, and create it.
- Navigate to the “Bot” tab, click “Add Bot,” and confirm.
- Copy the bot token — this is your secret key to interact with the bot programmatically. Store it securely.
4. Setting Up the Project
Open your terminal or command prompt and follow these steps:
mkdir my-discord-bot
cd my-discord-bot
npm init -y
npm install discord.js dotenv
Create a file named .env and add your bot token:
DISCORD_TOKEN=your_bot_token_hereNow, create a new file named index.js which will be the main script.
5. Writing the Bot Code
Here’s a basic template to get your bot running:
const { Client, GatewayIntentBits } = require('discord.js');
require('dotenv').config();

const client = new Client({
  intents: [GatewayIntentBits.Guilds, GatewayIntentBits.GuildMessages, GatewayIntentBits.MessageContent]
});

client.once('ready', () => {
  console.log(`Logged in as ${client.user.tag}`);
});

client.on('messageCreate', message => {
  if (message.author.bot) return;
  if (message.content.toLowerCase() === 'ping') {
    message.reply('Pong!');
  }
});

client.login(process.env.DISCORD_TOKEN);
Save the file and start the bot with:
node index.jsIf everything is set up correctly, your bot should go online and reply with “Pong!” when someone types “ping” in a server channel.
6. Inviting the Bot to Your Server
To invite your bot to your server:
- Go to the OAuth2 section of the Developer Portal.
- Under URL Generator, choose scope “bot” and permissions like “Send Messages” and “Read Message History”.
- Copy the generated URL, paste it in your browser, and select your server.
7. Expanding Your Bot
Once your basic bot is working, you can start expanding it. Some ideas include:
- Adding command handlers for multiple commands
- Integrating APIs to fetch data (e.g., weather, crypto prices)
- Creating reaction roles and custom welcome messages
- Storing data in a database like MongoDB
8. Keeping Your Bot Online
If you want your bot to run 24/7, consider deploying it on a cloud service:
- Replit: Simple and great for beginners
- Render: Offers free hosting with environment variables
- VPS: Full control but requires technical setup
Conclusion
Creating a Discord bot is an exciting way to learn programming while building something useful. This guide gave you a complete walkthrough — from setup to functionality — and now it’s up to you to keep developing and adding new features. With time and creativity, your bot can grow into a powerful tool for your community.


