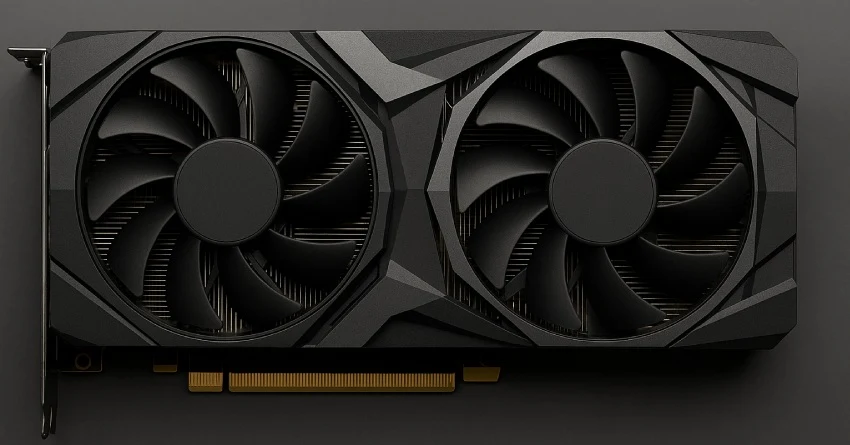
Overclocking your graphics card can significantly improve gaming performance, shorten rendering times, and give you more value from your existing hardware. While many think overclocking is risky or reserved for enthusiasts, it’s actually quite accessible if done properly.
This guide will walk you through everything you need to know: from essential tools and safe setup to fine-tuning clocks, testing stability, and optimizing cooling.
What Is GPU Overclocking?
Overclocking a GPU involves increasing the clock speeds of your graphics card beyond factory settings. This leads to higher performance in most tasks that rely on GPU power—particularly gaming and video rendering. Most modern GPUs are designed with some headroom, meaning they can run at faster speeds than default, if cooled and powered properly.
What You’ll Need Before You Start
- MSI Afterburner – One of the most popular and reliable GPU tuning tools available.
- Benchmarking software like Unigine Heaven, 3DMark, or Superposition to test performance and stability.
- Temperature monitoring tools (built-in or use HWiNFO).
- A stable power supply unit (PSU) to ensure clean, sufficient power delivery during high load.
Step 1: Increase Power and Temperature Limits
Begin by increasing the power limit and temperature limit sliders in MSI Afterburner. This does not overclock your GPU yet but removes artificial restrictions, allowing it to handle more performance load:
- Power Limit: Set to 110% or maximum allowed by your card.
- Temperature Limit: Increase to 85°C or a safe upper limit depending on your cooling system.
These values simply tell the GPU it’s allowed to draw more power and get a bit warmer to sustain higher clocks.
Step 2: Overclocking the Core Clock
This is the main part of GPU overclocking. The core clock determines how fast your GPU’s main processor runs. Follow these steps:
- Start by increasing the core clock by
+50 MHz. - Click Apply and run a GPU-intensive benchmark or a game for 10–15 minutes.
- If no crashes or artifacts appear, increase by another
+10 to +20 MHz. - Repeat the process until you see instability (e.g. screen flickering, freezing, or driver crashes).
- When instability occurs, drop the clock by
10–20 MHzuntil stable.
Every GPU chip is different—even if they’re the same model. This process helps you find the unique stable limit for your card.
Step 3: Overclocking the Memory Clock
Now that your core is stable, you can overclock your memory. GPU memory speed can have a big impact on performance, especially in high-resolution gaming or memory-heavy applications.
- Begin with a
+100 MHzmemory clock increase. - Test stability in the same way as above using benchmarks or real gameplay.
- Continue increasing in
+50 MHzsteps until instability is observed. - Back off slightly from the last unstable value for a reliable setting.
Step 4: Stress Testing Your Overclock
Short tests are useful, but you’ll want to run a stress test for a longer period to verify true stability. Use tools like:
- Unigine Heaven (loop mode for 30–60 minutes)
- 3DMark Time Spy stress test
- OCCT GPU test
While testing, monitor for artifacts, stutters, or crashes. Also keep an eye on temperatures—ideally staying below 80–85°C.
Step 5: Optimize the Fan Curve
Extra performance means extra heat. It’s important to tune your fan curve for improved cooling and noise balance. In MSI Afterburner:
- Enable custom fan control.
- Create a curve that ramps up fan speed aggressively with temperature increases.
- Example: 50% at 50°C, 70% at 70°C, 100% at 80°C.
This keeps your GPU cool without letting temperatures spiral out of control during load.
Step 6: Save and Apply Your Profile
Once you’re happy with your results and stability, save your profile in MSI Afterburner. This ensures your overclock is automatically applied at system startup or after reboots.
Tips and Warnings
- Do not increase voltage unless you fully understand the risks. Higher voltage = more heat + reduced lifespan.
- Every GPU is different. Results may vary even with the same model.
- Always keep your drivers updated for optimal stability.
- If you run into crashes or graphical bugs, revert to your last stable clock values.
Should You Overclock a Laptop GPU?
Laptop GPUs can technically be overclocked, but it is much riskier due to limited cooling and power. If you attempt it, keep increases minimal and monitor thermals carefully. For most users, we recommend avoiding overclocking on laptops unless you are experienced and the device has high-end thermal design.
Conclusion
GPU overclocking is a free and effective way to unlock extra performance from your system. With patience and careful monitoring, you can boost your FPS and rendering times without damaging your hardware. Just remember to test thoroughly, stay within safe temperature limits, and don’t overdo voltage tweaks.


